Turbine-type flow meters are still widely used in clean liquid and gas measurement because they offer fast response, compact construction, and strong repeatability when the rotor, bearings, piping, and calibration curve are treated as one measurement system. The catch is simple: a turbine meter is mechanically sensitive. A small installation shortcut—such as a gasket protruding into the bore, a missing upstream strainer, or a poor pulse cable shield—can move the meter away from its calibrated K-factor.
This guide follows a practical field sequence: define the meter, control safety, prepare tools, inspect the site, mount the meter, wire the signal, complete mechanical checks, run calibration, validate performance, and keep records. It is written for technicians, plant engineers, commissioning teams, and maintenance planners who need repeatable turbine-type flow meter results rather than “display looks reasonable” acceptance.

For related selection and installation context, see the flow meter installation best practices guide from Jade Ant Instruments, the gas and steam turbine flowmeter page, and NIST’s reference explanation of calibration of turbine meters.
Scope and Definitions
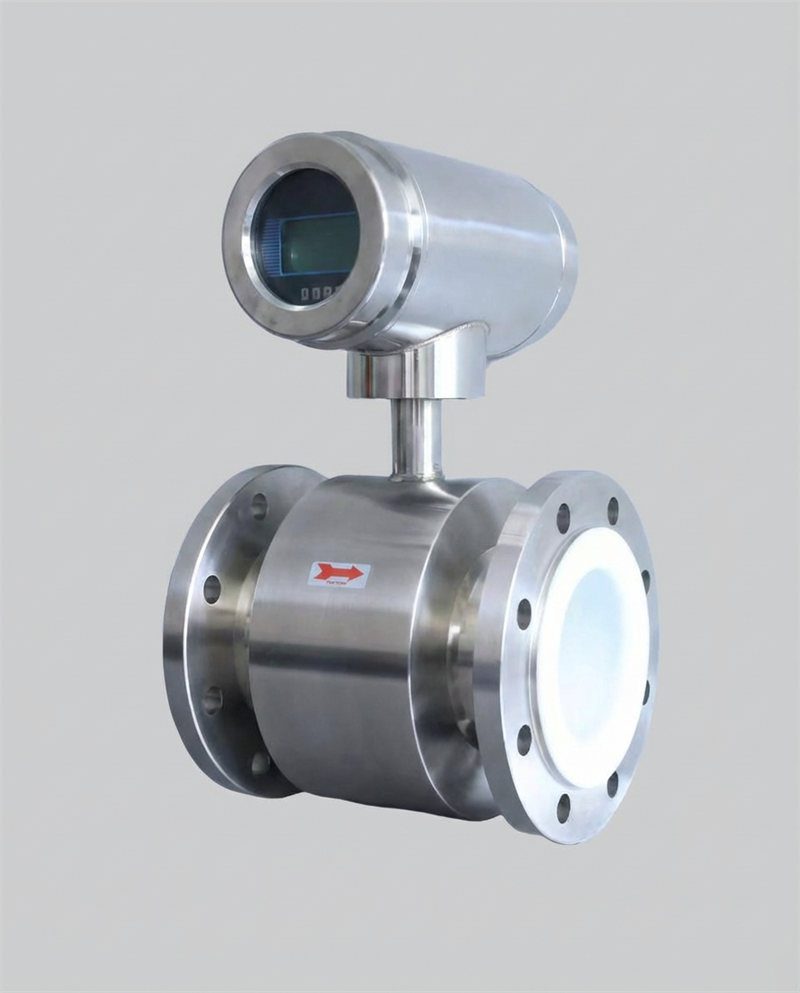
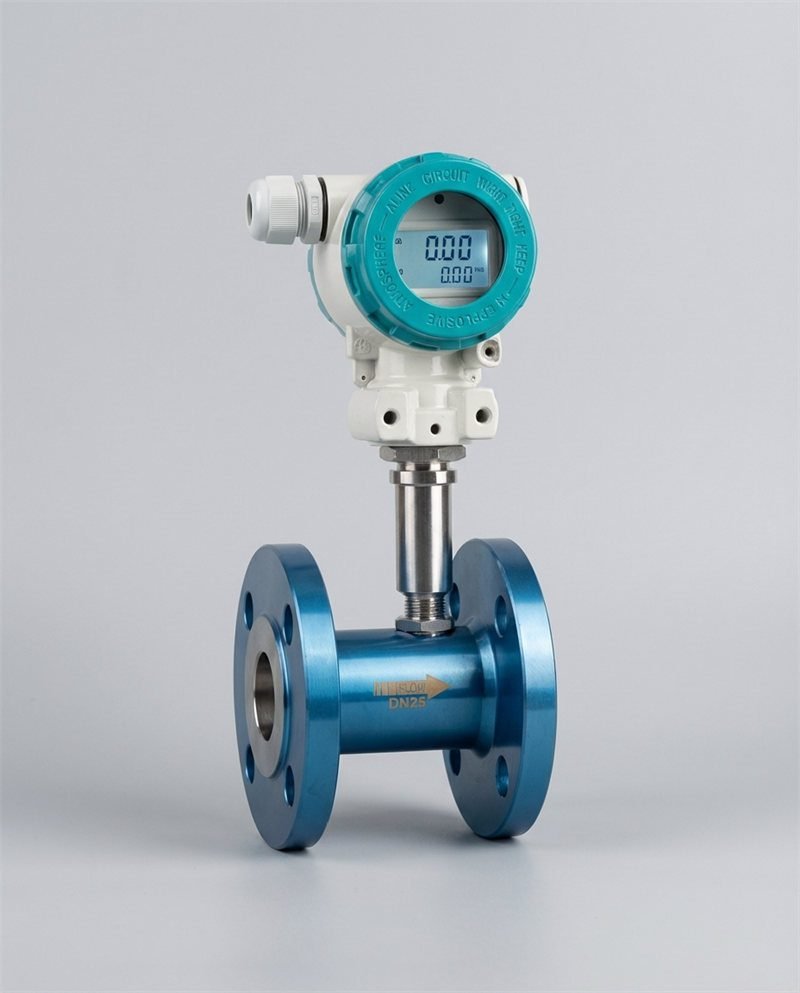
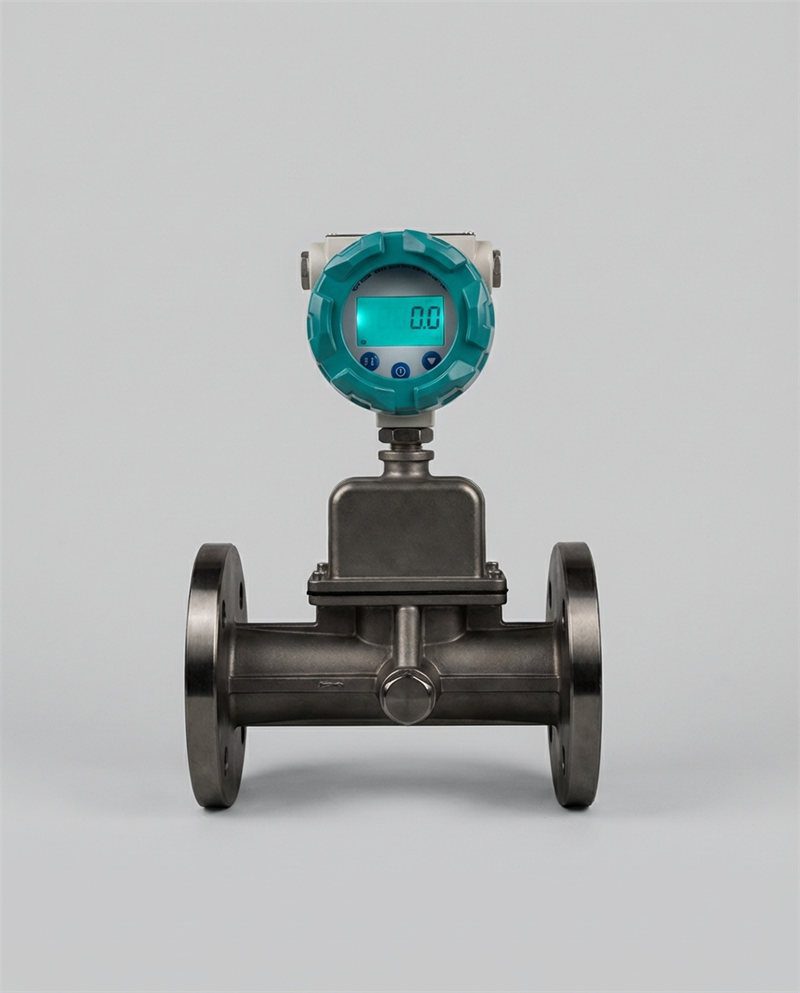
What Is a Turbine-Type Flow Meter?
A turbine-type flow meter is an inline velocity meter. Fluid passes through the meter body and drives a bladed rotor. A magnetic, inductive, Hall-effect, or RF pickup detects blade movement and generates pulses. The pulse frequency is proportional to volumetric flow rate, while total pulse count is proportional to totalized volume.
The core relationship is:
Volume = Pulse Count ÷ K-Factor
Flow Rate = Pulse Frequency ÷ K-Factor
The K-factor is normally expressed as pulses per liter, pulses per gallon, or pulses per cubic meter. It is not just an electronic number. It reflects the meter body, rotor geometry, bearings, pickup position, viscosity range, Reynolds number, and calibration conditions.
Key Performance Metrics and Terms
| Term | Meaning | Field Insight |
|---|---|---|
| K-factor | Pulses generated per engineering unit of volume. | Always use the calibrated K-factor for the actual meter serial number, not a catalog average. |
| Linearity | Maximum deviation across the calibrated flow range. | A meter may repeat well but still be biased if operated outside its linear flow region. |
| Repeatability | Ability to produce the same result under unchanged conditions. | Good turbine meters often repeat better than their absolute accuracy. |
| Turn-down ratio | Usable maximum flow divided by minimum flow. | Oversizing is common; low velocity increases bearing-drag influence. |
| Pressure drop | Permanent loss caused by rotor and flow conditioners. | Watch pump margin on viscous liquids and low-pressure gas lines. |
| Traceability | Calibration chain linked to recognized standards. | For regulated work, use documentation aligned with ISO/IEC 17025 principles. |
Safety Considerations
Lockout/Tagout Procedures and Energy Isolation
Before removing spool pieces, opening terminal covers, or installing a reference meter, isolate every energy source connected to the metering run. This includes pressure, electrical power, stored fluid energy, hydraulic actuators, pneumatic valve drives, steam tracing, and chemical injection lines. In the United States, OSHA’s control of hazardous energy requirements are the baseline reference for lockout/tagout programs.
Personal Protective Equipment and Safe Handling
Minimum PPE should match the fluid and plant risk assessment. Typical requirements include safety glasses, cut-resistant gloves, safety shoes, hearing protection during air/gas proving, flame-resistant clothing for hydrocarbon service, and chemical splash protection for corrosive liquids. Larger turbine meters should be lifted with rated slings and supported during flange alignment; never use the pickup housing, preamplifier, or conduit connection as a lifting point.
Tools and Equipment
Required Tools for Installation and Calibration
- Calibrated torque wrench and correct sockets for flange bolts
- Flange alignment pins, straightedge, feeler gauges, and pipe supports
- Digital multimeter, loop calibrator, frequency counter, or pulse simulator
- Shielded twisted-pair cable for pulse, frequency, or 4–20 mA signals
- Strainer or filter basket inspection tools
- Reference prover, master meter, gravimetric tank, or piston prover for calibration
- Thermometer, pressure gauge/transmitter, and density or viscosity reference where required
Consumables, Calibration References, and Traceability
Prepare new gaskets, compatible thread sealant, cable glands, grounding hardware, cleaning solvent, lint-free wipes, calibration seals, and labels. Calibration references should be in date and documented. NIST notes that turbine meters can be calibrated using a volumetric piston prover, with flow determined from known displaced volume over measured time; that principle is the same whether the proving system is a laboratory piston prover, a compact prover, or a calibrated master meter.
Pre-Installation Checks
Site Survey and Environment Assessment
Walk the line before the meter arrives. Confirm pipe size, schedule, flange rating, flow direction, available straight-run length, ambient temperature, vibration sources, cable route, hazardous-area classification, and access for future bearing inspection. A technician should be able to remove the pickup, inspect the strainer, and read the nameplate without dismantling unrelated equipment.
Turbine meter
Upstream: typically 10D minimum
Downstream: typically 5D minimum
Avoid elbow/valve directly before meter
Environmental Conditions and Erosion Considerations
Turbine meters work best with clean, single-phase flow. Sand, weld slag, polymer strands, rust flakes, and crystallized chemicals damage rotor edges and bearings. For liquid hydrocarbon and chemical services, install a correctly sized upstream strainer where solids are possible. For gas service, check for condensate, oil carryover, and pulsation. Erosion is not only a maintenance issue; it changes rotor drag and therefore shifts the K-factor.
Electrical Supply Verification and Compatibility
Confirm the transmitter supply voltage, pickup type, input card compatibility, hazardous-area protection method, and signal format before pulling cable. A passive magnetic pickup may generate a weak low-flow signal, while a Hall-effect pickup requires excitation power. If the PLC high-speed counter is not compatible with the pulse amplitude, the meter can appear unstable even when the rotor is operating correctly.
Mounting and Installation
Orientation, Flow Direction, and Mounting Posture
Install the meter with the flow arrow pointing in the real process direction. For liquid service, horizontal mounting is common, but vertical upward flow is often preferred when there is risk of entrained air. Avoid vertical downward liquid flow because the pipe may not remain full at low rates. For gas service, protect the meter from condensate traps and liquid slugs.
A practical rule used by commissioning teams is: if the meter can see bubbles, slugs, or reverse flow during startup, it needs either a different location, better venting/draining, or a startup bypass procedure.
Flange Alignment, Gasket Selection, and Torque
Check that mating flanges are parallel, concentric, and not forcing the meter into position. Misalignment loads the meter body and can distort internal clearances. Gaskets must not protrude into the bore. Even a small lip at the inlet can introduce swirl or shed turbulence directly into the rotor.
| Checkpoint | Acceptance Target | Why It Matters |
|---|---|---|
| Flow arrow | Matches actual process flow | Reverse installation can produce no signal, negative totalization, or mechanical stress. |
| Upstream straight run | Typically 10D minimum; more after valves or two elbows | Reduces swirl before the rotor. |
| Downstream straight run | Typically 5D minimum | Prevents outlet disturbances from affecting rotor discharge. |
| Gasket position | Flush with pipe ID, no intrusion | Prevents local jetting and rotor vibration. |
| Bolting sequence | Cross-pattern tightening in staged passes | Protects flange faces and keeps meter centered. |
| Strainer | Installed and cleaned before startup where solids are possible | Protects bearings and rotor edges. |
Piping Considerations to Minimize Vibration and Pulsations
Turbine meters are responsive, which is an advantage in batching but a disadvantage near pulsating pumps, reciprocating compressors, or control valves. If pulsation is unavoidable, install dampeners, use a flow conditioner, move the meter away from the source, or configure electronic damping carefully. Excessive damping can make batch cut-off late, while too little damping can cause noisy totalization.
For hydrocarbon metering, installation practices are often benchmarked against API Manual of Petroleum Measurement Standards guidance, including turbine meter installation considerations in API MPMS Chapter 5.3 addenda.
Electrical Wiring and Signal Conditioning
Power Supply Connections and Safety Standards
De-energize the loop before wiring. Confirm polarity, supply voltage, and grounding method from the manufacturer’s wiring diagram. In hazardous areas, do not mix intrinsic safety, explosion-proof, and general-purpose wiring practices. The gland, conduit seal, barrier, and cable type are part of the safety system, not accessories.
Signal Output Configuration and Wiring Schemes
Common turbine outputs include raw magnetic pickup frequency, amplified square-wave pulse, scaled pulse, 4–20 mA flow signal, HART-enabled transmitter output, and digital totalizer communication. For batching and custody transfer, pulse fidelity matters. Use shielded twisted-pair cable, route it away from VFD motor leads, and land shields according to the control-system grounding philosophy.
Turbine Meter
Pickup / Preamp
PLC / DCS
High-speed input
Signal +
Signal – / common
Shield: ground one end only
Grounding, Shielding, and EMI Considerations
Ground loops and electromagnetic interference often show up as false counts. A variable-frequency drive can inject noise that looks like flow pulses. Keep pulse wiring away from power cables, avoid running signal cable in the same tray as motor leads, and verify the counter input with simulated pulses before blaming the meter.
Mechanical Calibration Setup
Initial Mechanical Adjustments and Verification of Rotating Elements
Before calibration, inspect the rotor if the design allows safe access. It should rotate freely without rubbing, binding, chipped blades, or axial play beyond specification. If the meter was stored for months, rotate the rotor gently with clean, dry air or approved fluid—not with metal tools. Check the pickup gap where adjustable; too wide a gap weakens the signal at low flow, while too narrow a gap risks contact or magnetic drag.
Tension, Bearing Preload, and Zero Checks
Some turbine meter designs use bearing retainers, thrust washers, or rotor supports that must be installed in a defined order. Do not “improve” sensitivity by loosening supports or changing bearing preload unless the manufacturer’s service procedure explicitly allows it. The zero check for a turbine meter is different from a Coriolis or magnetic meter: with no flow, there should be no pulse output. False pulses at zero usually indicate electrical noise, vibration, or a pickup/preamp issue.
Supply Tank
Meter
Under Test
Master
Meter
Prover
Stable flow
Pulse/frequency comparison
Calibration Procedure
Benchtop Calibration Steps and Reference Standards
Benchtop calibration is preferred when the meter can be removed and the calibration fluid, flow range, viscosity, temperature, and pressure can be controlled. A typical procedure is:
- Verify meter serial number, range, material, pickup type, and previous K-factor.
- Install the meter in the calibration line with the same orientation and required straight run.
- Flush the line to remove air and particles.
- Stabilize temperature, pressure, and flow.
- Run multiple points across the operating range, commonly low, mid, and high flow.
- Record reference volume, turbine pulses, temperature, pressure, and calculated K-factor.
- Generate a new calibration curve or confirm the existing K-factor is within tolerance.
For traceable laboratory practice, the calibration provider should document uncertainty, reference equipment, environmental conditions, and measurement method. NIST’s turbine meter page explains how a known displaced volume and measured time can establish flow for calibration.
In-Situ Calibration Workflow and Procedures
In-situ calibration is useful when removing the meter would disrupt production or when the installed piping significantly affects performance. The most common methods are master-meter comparison, compact prover proving, tank drawdown, and batch-weighing comparison. The workflow is:
- Confirm the process is stable and single-phase.
- Inspect strainer differential pressure and clean if required.
- Check zero pulses under no-flow conditions.
- Run the reference standard in series with the turbine meter.
- Collect enough pulses for statistical confidence; short proving runs increase uncertainty.
- Compare indicated volume against reference volume.
- Adjust K-factor only after mechanical and electrical issues are ruled out.
Data Recording, Acceptance Criteria, and Batch Documentation
Good calibration records are structured enough to support maintenance decisions later. At minimum, record meter serial number, line ID, fluid, viscosity estimate, temperature, pressure, flow points, reference device, K-factor, deviation, uncertainty, technician, and seal status.
| Flow Point | Reference Volume | Meter Pulses | Calculated K-Factor | Error vs Reference | Action |
|---|---|---|---|---|---|
| Low flow: 20% | 500.00 L | 225,850 | 451.70 pulses/L | +0.42% | Accept if within site tolerance |
| Mid flow: 50% | 750.00 L | 338,520 | 451.36 pulses/L | +0.08% | Use for nominal K-factor check |
| High flow: 90% | 1000.00 L | 451,110 | 451.11 pulses/L | -0.17% | Accept; monitor linearity |
Example Bar Chart: Common Installation-Related Error Sources
38%
30%
24%
20%
16%
12%
Straight run
Solids
Air/gas
EMI
Pulsation
Gasket lip
Typical Error Sources Seen During Turbine Meter Commissioning
Illustrative values based on common field failure modes; actual distribution varies by fluid cleanliness, line layout, and maintenance discipline.
Validation and Commissioning
Performance Verification Against Flow Benchmarks
Commissioning is not complete when the display shows a number. Verify that the meter total, transmitter output, PLC scaling, and HMI engineering units all agree. At a known stable flow, compare frequency, local display, PLC totalizer, and reference indication. If the local totalizer is correct but the PLC is wrong, the issue is usually scaling, pulse weight, input filtering, or missed counts—not the turbine meter.
Documentation of Results and Sign-Off Criteria
A practical acceptance package should include:
- Installed meter photos showing flow arrow, straight run, and cable entry
- Nameplate and serial number photo
- Calibration certificate and K-factor
- Loop test or pulse simulation result
- Startup strainer inspection record
- Final PLC/HMI scaling values
- Responsible technician and supervisor sign-off
Maintenance, Troubleshooting, and Records
Routine Maintenance Schedule and Inspection Points
| Task | Typical Interval | What to Look For |
|---|---|---|
| Strainer inspection | Startup, then monthly to quarterly | Weld slag, rust, polymer, sand, pressure drop increase |
| Zero pulse check | Quarterly or after wiring work | False counts from EMI or vibration |
| Pickup signal check | 6–12 months | Weak signal, loose connector, moisture ingress |
| Bearing/rotor inspection | 12–24 months depending on service | Drag, noise, chipped blades, axial play |
| Calibration verification | 12–36 months depending on criticality | K-factor drift, linearity shift, repeatability loss |
Common Faults, Diagnostics, and Fixes
| Symptom | Likely Cause | Diagnostic Step | Corrective Action |
|---|---|---|---|
| No signal at low flow | Pickup gap too large, bearing drag, flow below minimum | Measure frequency at meter terminals | Adjust pickup, inspect bearings, resize meter if oversized |
| Counts at zero flow | EMI, vibration, poor shield grounding | Disconnect signal cable and test input separately | Improve shielding, reroute cable, isolate vibration |
| Meter reads high | Air entrainment, bad K-factor, pulsation | Check process sight glass or compare with reference | Vent line, stabilize pump, correct scaling |
| Meter reads low | Bearing wear, fouled rotor, missed pulses | Inspect rotor and count raw pulses | Clean meter, replace bearings, verify PLC input speed |
| Repeatability poor | Two-phase flow, upstream disturbance, control valve too close | Trend pressure/flow and review piping layout | Move meter, add conditioner, change valve location |
Record-Keeping, Calibration Certificates, and Future References
Keep calibration certificates, K-factor changes, maintenance reports, and replaced parts tied to the meter serial number. A turbine meter with three years of bearing replacements and calibration shifts tells a story: either the fluid is dirtier than expected, the meter is oversized, the strainer is neglected, or the process condition changed. Records turn “calibrate again” into root-cause maintenance.
Example Pie Chart: Root Causes of Turbine Meter Drift
■ 35% Solids / rotor wear
■ 25% Bearing drag
■ 18% Installation disturbance
■ 12% Electrical noise
■ 10% Process change
Illustrative distribution for maintenance planning.
Recap of Critical Installation and Calibration Steps
A turbine-type flow meter is accurate when the rotor sees the same hydraulic conditions that the calibration assumed. The critical steps are: confirm clean single-phase flow, provide straight run, install the meter in the correct direction, prevent gasket intrusion, control vibration, wire pulse signals correctly, verify zero pulses, calibrate against a traceable reference, and document the final K-factor.
Best Practices for Long-Term Accuracy and Reliability
The strongest maintenance programs do not wait for a failed batch or unexplained inventory variance. They trend K-factor history, inspect strainers after startup events, check for false pulses at zero flow, and review process changes such as new pumps, control valves, or viscosity shifts. Jade Ant Instruments applies this approach when helping plants review turbine meter applications: the question is not only “which meter fits the pipe?” but “what installation will keep the calibrated K-factor valid in real operation?”
Next Steps: Ongoing Monitoring and Periodic Re-Calibration
If your turbine meter supports a revenue, custody-transfer, dosing, or energy-balance function, define a recalibration interval based on risk. Clean, stable utility liquids may justify longer intervals; fuels, solvents, dirty liquids, or high-value batching usually need tighter verification. For a broader technology comparison before a new project, use the Jade Ant Instruments flow meter selection guide and the vortex vs turbine working principle guide.
FAQs
What Calibration Frequency Is Recommended for Turbine-Type Meters?
For clean, non-critical service, 12–36 months is common. For custody transfer, high-value batching, fuels, or fluids that can foul bearings, annual verification is often more appropriate. Recalibrate immediately after bearing replacement, rotor repair, major piping changes, or unexplained K-factor shift.
How Do Environmental Conditions Affect Turbine Meters?
Temperature changes can alter viscosity and density, while vibration and EMI can create unstable pulse signals. Dust, washdown, humidity, and corrosive atmospheres can also damage connectors and preamplifiers. The meter body may be mechanical, but the measurement chain is electromechanical.
What Are Common Signs of Installation-Related Measurement Drift?
Common signs include poor repeatability, false pulses at zero flow, sudden inventory imbalance after piping work, high readings during pump startup, low readings at minimum flow, or different totals between the local register and PLC. These symptoms often point to straight-run, wiring, air entrainment, or scaling problems.
Can a Turbine-Type Flow Meter Measure Dirty Liquids?
Only with caution. Turbine meters are best for clean fluids. Dirty liquids can erode rotor blades, plug bearings, and shift the K-factor. If the application contains solids, install upstream filtration and consider whether magnetic, Coriolis, ultrasonic, or another technology would reduce lifecycle cost.
Why Does a Turbine Meter Need Straight Pipe?
The rotor assumes a reasonably stable velocity profile. Elbows, tees, reducers, and partially open valves create swirl and asymmetric velocity. Straight pipe lets the profile recover before the fluid hits the rotor, improving repeatability and reducing calibration bias.
Should the K-Factor Be Changed During Commissioning?
Only after verifying mechanics, wiring, flow profile, reference equipment, and PLC scaling. Changing the K-factor can hide a real installation fault. If a new K-factor is accepted, record the reason, date, reference method, technician, and previous value.
What Is the Difference Between Calibration and Verification?
Calibration establishes or adjusts the relationship between pulses and actual volume using a reference standard. Verification confirms the installed meter remains within tolerance without necessarily changing the K-factor. Verification is often faster and useful between full calibrations.
Can Turbine Meters Be Installed Vertically?
Yes, many can be installed vertically if the manufacturer allows it. For liquid service, vertical upward flow is preferred because it helps keep the pipe full and moves bubbles through the meter. Vertical downward liquid flow is usually avoided unless the line is guaranteed full.