The average American household consumes roughly 300 gallons of water per day, according to the EPA’s WaterSense program. That’s approximately 109,500 gallons per year — billed at $1.50 per 1,000 gallons on the low end and $12+ per 1,000 gallons in cities like San Francisco. The EPA also estimates that 10% of U.S. homes have leaks wasting 90 or more gallons per day. A stuck toilet fill valve alone can hemorrhage 4,300 gallons in a single day — $140+ in water charges before anyone notices the running sound.
An external water flow meter installed on your main supply line lets you see exactly how much water enters your house, minute by minute. It reveals hidden leaks (a slow drip that uses 0.5 GPM shows up clearly on a meter even when it’s invisible to the eye), identifies high-consumption fixtures, and provides the data you need to hold utility billing accountable. Households that install flow monitoring typically reduce water consumption by 15–25% within the first year, simply because visible data changes behavior.
This guide walks through the entire installation process — from pre-planning and code checks through fitting selection, pipe cutting, torque specs, leak testing, electrical integration, and long-term maintenance. It’s written for DIY-capable homeowners with basic plumbing skills and for licensed plumbers who want a structured checklist. However: if you’ve never soldered a joint, cut a supply line, or worked on pressurized plumbing, hire a licensed professional. A mis-torqued fitting on a 60-PSI supply line will flood your basement in minutes — and no flow meter is worth that.
Safety prerequisites before you start: Know where your main shut-off valve is located (usually at the curb or where the service line enters the house). Have a working fire extinguisher accessible. Wear safety glasses during any cutting or soldering. Remove any standing water before working near electrical connections.

Preparing for Installation
Define Goals and Meter Specifications
Before purchasing anything, answer three questions: (1) What do you want to measure — whole-house consumption, a specific zone (irrigation, pool fill), or individual fixture groups? (2) What accuracy do you need — general monitoring (±2–5%) or utility-grade billing (±1.5%)? (3) Do you want data output — pulse, 4–20 mA, Modbus, or Wi-Fi to a smart-home hub?
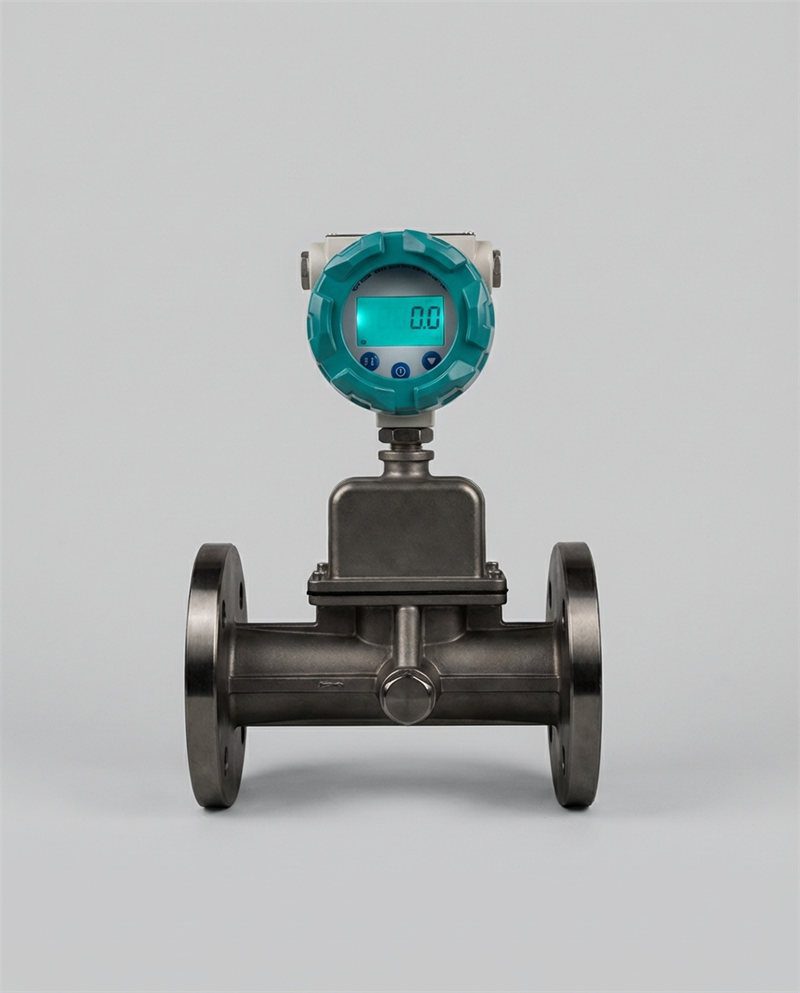
For whole-house monitoring on a ¾-inch or 1-inch residential supply line, a mechanical turbine meter (±1.5–2% accuracy, $80–$200) or an ultrasonic clamp-on meter (±1–3%, $150–$500) covers most needs. If you want smart-home integration without cutting pipe, Jade Ant Instruments’ ultrasonic water flow meter selection guide compares clamp-on versus inline options with concrete accuracy and cost data.
Gather Tools and Materials
| Category | Item | Purpose | Estimated Cost |
|---|---|---|---|
| Cutting | Pipe cutter (copper) or PEX cutter | Clean, square cuts on the supply line | $15–$40 |
| Cutting | Deburring tool / file | Remove burrs that restrict flow or damage gaskets | $8–$15 |
| Wrenches | Two adjustable wrenches or pipe wrenches (12–14 inch) | Hold-back wrench + torque wrench for fittings | $20–$50 |
| Sealing | PTFE (Teflon) tape — yellow for gas, white for water | Thread seal on NPT connections; 3–5 wraps clockwise | $3–$6 |
| Sealing | Pipe-joint compound (optional, for brass-to-brass) | Secondary seal on threaded joints; some codes require compound + tape | $5–$10 |
| Fittings | Unions / adapters / couplings (match meter connection to pipe type) | Connect meter to copper, PEX, CPVC, or galvanized pipe | $10–$40 |
| Fittings | Two full-port ball valves (before and after meter) | Isolate meter for future maintenance without shutting off entire house | $15–$30 each |
| Testing | Soap-bubble solution or commercial leak detector spray | Visual leak check at every joint after pressurization | $5–$10 |
| Safety | Safety glasses, towels, bucket | Eye protection during cutting; towels for residual water | $5–$15 |
| Electrical | Multimeter (if wiring meter output) | Verify 24 VDC or 4–20 mA signal | $20–$50 |
Check Local Codes and Permit Requirements
Most jurisdictions in the United States require a plumbing permit for any work that modifies the main water supply line inside a residential structure. Coastal Pipeline’s code overview confirms that improper installation — or installing without a permit — can result in fines of hundreds of dollars per day in many municipalities. Before you start:
Call your local building department or water utility. Ask: “Do I need a permit to install a sub-meter or flow meter on my main supply line after the utility meter?” In many areas, installing a monitoring-only meter (no billing function) downstream of the utility meter does not require a permit — but cutting into the supply line does trigger a plumbing-permit requirement. Clamp-on ultrasonic meters that don’t cut the pipe often avoid permit requirements entirely, which is one reason they’ve grown popular for DIY installations.
Also check: Does your local code require the meter to be installed by a licensed plumber? Does it require an inspection after installation? Does the meter need to be a specific model approved by AWWA (American Water Works Association) or local authority?
Understanding Your Meter and Placement
Common Meter Types and Their Principal Workings
| Meter Type | Principle | Accuracy | Moving Parts? | Typical Cost | Best For |
|---|---|---|---|---|---|
| Positive Displacement (PD) | Rotating piston or nutating disc traps and counts fixed volumes | ±0.5–1.5% | Yes — piston/disc | $50–$150 | Utility billing; low-flow sensitivity |
| Multi-Jet | Multiple water jets spin an internal turbine; rotation ∝ flow | ±1.5–2.0% | Yes — impeller | $60–$200 | Residential sub-metering; moderate flows |
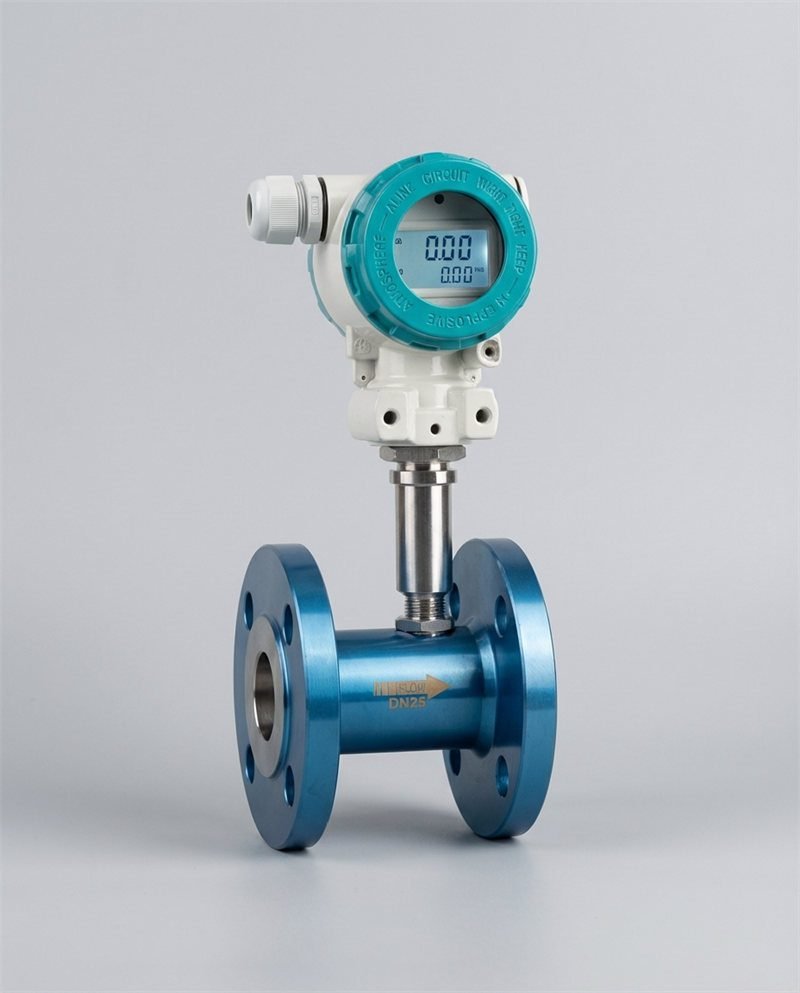
| Single-Jet Turbine | Single jet impinges on turbine blade; pulse output | ±1.0–2.0% | Yes — turbine | $40–$120 | Garden/irrigation sub-metering |
| Ultrasonic (Transit-Time) | Measures speed difference of ultrasound pulses with/against flow | ±1.0–3.0% | No | $150–$500 | Non-invasive clamp-on; smart-home integration |
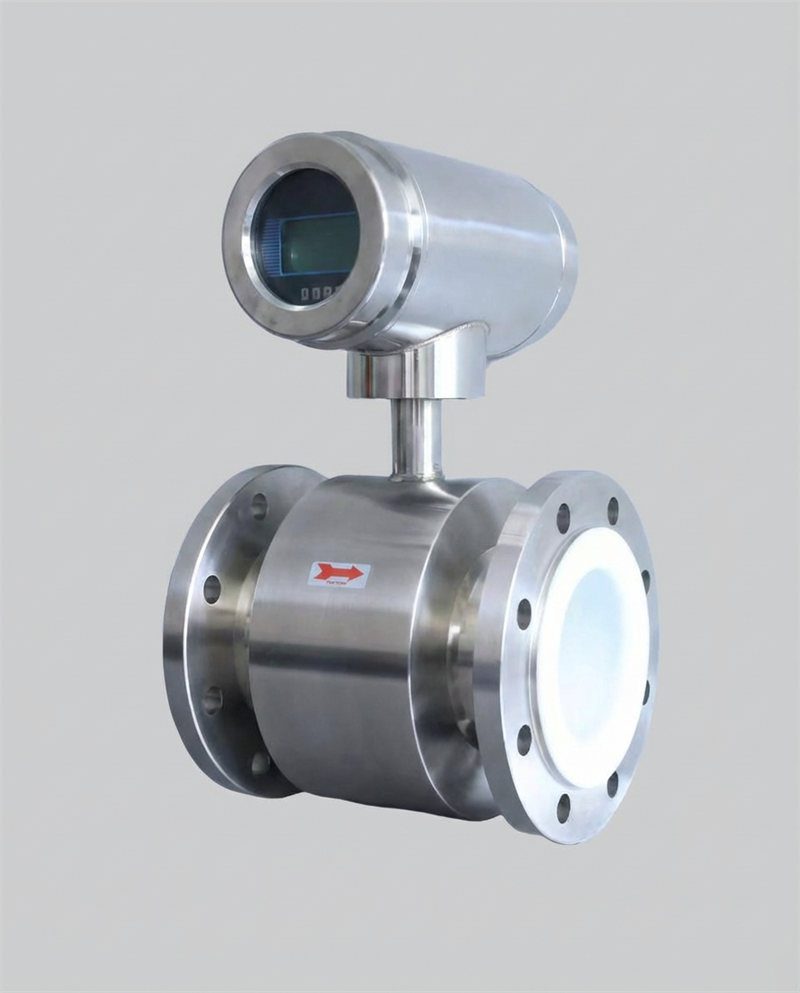
| Electromagnetic (Mag) | Faraday’s law: voltage induced by conductive fluid moving through magnetic field | ±0.5–1.0% | No | $300–$800 | High accuracy; dirty water; larger homes |
For a deeper comparison of these technologies — including conductivity requirements for mag meters and Doppler vs. transit-time ultrasonic options — Jade Ant Instruments’ liquid flow measurement device comparison provides side-by-side specifications with real-world application notes.
Factors Influencing Placement (Scale, Accessibility, Aesthetics)
Install the meter where you can read it, reach it, and service it. That sounds obvious, but a surprising number of residential meters end up behind water heaters, under sinks behind P-traps, or in crawl spaces where nobody checks them for years. The ideal location is on the main supply line immediately after the main shut-off valve and pressure regulator (if present), in a utility room, basement, or garage with at least 18 inches of clearance around the meter for wrench access. Keep the meter away from heat sources (water heaters, furnaces) that could affect ultrasonic sensors, and away from electrical panels to avoid electromagnetic interference with mag meters.
Reading Plumbing Diagrams and Identifying Installation Points
How to Read a Residential Plumbing Schematic
A residential plumbing diagram shows the path of water from the utility service line through the meter, main shut-off valve, pressure regulator, and into branch lines that feed individual fixtures. Lines are typically drawn as single lines with flow-direction arrows. Valves are shown as bow-tie symbols, meters as diamond or circle symbols, and connections as dots or T-intersections. You don’t need an engineering degree to read one — but you do need to identify two things: (1) where the main supply line enters your home and (2) where it first branches to fixtures.
Identifying the Main Supply Line and Branch Connections
The main supply line is the single pipe — typically ¾ inch or 1 inch in diameter for single-family homes — that runs from the utility meter at the street to the first branch point inside the house. In most homes, this is a copper, CPVC, or PEX pipe running through the basement, crawl space, or slab. Your flow meter goes on this main line, upstream of the first branch point, to capture total household flow. If you only want to monitor irrigation, install the meter on the dedicated irrigation branch line instead.

Selecting a Mounting Location on the Main Supply Line
Ideal Locations for Accuracy and Maintenance Access
For best accuracy, install the meter on a horizontal pipe run with the meter register (display) facing up. Mount it at least 5 pipe diameters (5D) downstream from any elbow, valve, or tee, and at least 3D upstream from the next fitting. For a ¾-inch pipe (0.75-inch ID), 5D = 3.75 inches — a modest requirement, but one that many installers skip, causing 2–5% accuracy degradation from turbulent flow profiles.
Ensure the pipe is always full at the meter location. Air pockets cause erratic readings on mechanical meters and can blind ultrasonic sensors entirely. If your supply line has a high point that traps air, install the meter below that point.
Considerations for Pipe Size, Materials, and Fittings
Match the meter’s connection size to your pipe size. Most residential meters come in ¾-inch and 1-inch NPT (National Pipe Thread) connections. If your supply line is a different size or material, you’ll need adapters:
| Supply Pipe Material | Pipe Size | Meter Connection | Adapter Type | Notes |
|---|---|---|---|---|
| Copper (Type L or M) | ¾” | ¾” NPT | Sweat-to-NPT female adapter + union | Solder adapter to pipe; thread meter into union |
| PEX | ¾” | ¾” NPT | PEX crimp/expansion fitting to NPT | Use brass PEX fittings rated for potable water |
| CPVC | ¾” | ¾” NPT | CPVC slip × NPT female adapter | Use CPVC solvent cement; allow 2-hour cure before pressure |
| Galvanized Steel | ¾” | ¾” NPT | Galvanized union | Thread directly; use pipe compound + Teflon tape |
| Copper | 1″ | 1″ NPT | Sweat-to-NPT female adapter + union | Ensure meter is rated for 1″ flow range |
Shutting Off Water and Depressurizing the System
Safe Lockout/Tagout Procedures
Turn off the main shut-off valve — typically located at the curb (exterior) or where the service line enters the building (interior). If you have both, close the interior valve first, then the exterior valve as backup. Tag the valve with a label: “DO NOT OPEN — Plumbing work in progress” with the date and your name. In a shared building or multi-family residence, notify all occupants before shutting off water. Per OSHA 1910.147, lockout/tagout is required in commercial settings and is strongly recommended practice in residential work to prevent someone from inadvertently opening the valve while you’re working on open pipe.
Procedures to Relieve Pressure and Protect Fixtures
After closing the main valve, open the lowest faucet in the house (often a laundry-room spigot or an outdoor hose bib) to drain residual pressure and water from the pipes. Then open a higher faucet to allow air to enter the system and accelerate draining. Wait until flow stops completely. Place towels and a bucket under the section of pipe you’ll be cutting — there will always be residual water in a horizontal run, typically 1–3 cups per linear foot of ¾-inch pipe.
If you have a water heater, turn it off (gas: set to “pilot”; electric: flip the breaker) before draining the system. Running a water heater with no incoming water can burn out the element or overheat the tank.
Installing the Flow Meter: Step-by-Step
Pre-Installation Checks and Alignment
Remove the meter from its packaging and verify: (1) The model matches your purchase order and pipe size. (2) The flow-direction arrow on the meter body matches your intended flow direction. Installing a meter backwards will give zero or negative readings on most meters — and can damage the internal mechanism on turbine and PD meters. (3) Inspect the gaskets or O-rings that came with the meter. If they’re cracked, hardened, or deformed, replace them before installation.
Confirm that the straight-run requirements are met at the installation location. For a mechanical turbine meter, most manufacturers recommend 5–10D upstream and 3–5D downstream of unobstructed straight pipe. Jade Ant Instruments’ 5-factor flow meter selection guide notes that turbine and vortex meters are the most sensitive to upstream disturbances — so this step isn’t optional.
Video: Installing a Water Meter to Code — A Helpful Guide
Fitting Types and Sealants: Unions, Adapters, and Gaskets
Use unions on both sides of the meter. This is non-negotiable. Unions allow you to remove the meter for cleaning, calibration, or replacement without cutting pipe. A union consists of a male thread end, a female swivel nut, and a gasket or seat — it creates a removable, watertight joint.
For threaded (NPT) connections, apply PTFE tape: wrap 3–5 turns clockwise (when viewed from the thread end) over the male threads. Some plumbers add a thin layer of pipe-joint compound over the tape for extra insurance — check your local code. For flanged connections (rare in residential, common in 2″+ commercial), use the gaskets provided by the meter manufacturer and torque bolts in a star pattern to the specified value.
Torquing Recommendations and Leak Prevention
| Connection Type | Size | Torque (ft-lbs) | Notes |
|---|---|---|---|
| Brass NPT union nut | ¾” | 25–35 | Hand-tight + ½ to ¾ turn with wrench; use hold-back wrench on meter |
| Brass NPT union nut | 1″ | 35–50 | Do not exceed — over-torquing cracks brass and distorts gasket |
| PEX crimp ring | ¾” | N/A (crimp tool calibration) | Use go/no-go gauge to verify crimp; ring gap must be 0.004–0.008″ |
| CPVC solvent-weld | ¾” | N/A (chemical bond) | Allow 2-hour cure at 60–100°F before pressurizing; 4+ hours below 60°F |
| Compression fitting | ¾” | 15–25 | Tighten nut until snug, then 1–1.25 turns; do not re-use compression ring |
Critical tip: Always use a hold-back wrench on the meter body when torquing the union nut. If you don’t, the torque rotates the meter body, stresses the internal connection, and can crack the meter housing. This is the single most common installation mistake — and it voids the warranty on virtually every meter on the market.

Electrical Considerations and Data Integration
Power Supply Options and Grounding Basics
Mechanical meters with analog registers (odometer-style dials) need no power. Electronic meters — ultrasonic, mag, and smart turbine — typically require one of three power sources: (1) battery (lithium, 3–10 year life, common on residential smart meters like Moen Flo and Flume), (2) 24 VDC from a plug-in transformer, or (3) 110/220 VAC direct (rare in residential). If your meter needs wired power, run the wire in conduit or NM cable to a nearby GFCI-protected outlet. All electrical connections near water must be GFCI-protected per NEC Article 210.8.
Grounding: Electromagnetic flow meters require a proper ground between the meter flanges and the pipe. In residential installations with copper pipe, the pipe itself often serves as the ground path. If your supply line is PEX or CPVC (non-conductive), install grounding rings on both sides of a mag meter. Failure to ground properly introduces electrical noise that can cause 5–15% measurement error.
Connecting to Data Displays, Hubs, or Smart Meters
Modern residential flow meters offer several data-output options. Pulse output (one pulse per gallon or liter) connects directly to smart-home hubs, irrigation controllers, or Arduino/Raspberry Pi setups for custom dashboards. 4–20 mA output feeds into industrial data loggers or building-management systems. Wi-Fi / Bluetooth meters transmit to phone apps with no wiring — Moen Flo, Phyn, and similar products send real-time flow and leak alerts to your smartphone.
For homeowners who want professional-grade data integration, Jade Ant Instruments’ water flow meter selection guide covers output protocols including 4–20 mA, HART, Modbus RS485, and pulse — with configuration guidance for connecting to SCADA and PLC systems in larger residential or estate applications.
Leak Testing and Verification
Pressurization Tests and Soap-Bubble Checks
After installation, slowly open the downstream isolation valve first (the valve after the meter), then slowly open the upstream valve. “Slowly” means quarter-turn increments with 10-second pauses — rapid pressurization can hammer the meter internals and blow fresh gaskets. Listen for hissing. Watch for drips. Then apply soap-bubble solution (or commercial leak-detector spray) to every joint: both union nuts, both valve connections, and any adapter joints. Bubbles = leak. Tighten the leaking joint by ⅛ to ¼ turn increments. If bubbles persist after two re-tightening attempts, disassemble the joint, inspect the gasket and threads, re-apply sealant, and reassemble.
After initial pressurization, let the system sit at full pressure for 30 minutes with all faucets closed. Check the meter reading. If the meter registers any flow during this period and no fixtures are running, you have either a leak at your new installation or a pre-existing leak in the house. Re-inspect your joints first, then check toilets (add food coloring to the tank — if color appears in the bowl within 15 minutes, the flapper valve leaks).
Flow Calibration Verification and Initial Readings
Verify the meter’s accuracy with a simple bucket test. Use a 5-gallon bucket (verify its actual volume with a measuring cup — many “5-gallon” buckets hold 4.7 gallons). Open a single faucet and fill the bucket completely while watching the meter. The meter reading should match the bucket volume within the meter’s stated accuracy. For a ±2% meter, a 5-gallon fill should read between 4.90 and 5.10 gallons. If it’s off by more than that, check for air in the line (which causes over-reading on mechanical meters) or verify the meter’s K-factor setting (for electronic meters with adjustable calibration).
Maintenance, Calibration, and Troubleshooting
Routine Inspection Schedule and Common Wear Points
Recommended Inspection Intervals by Meter Type
Recommended Inspection Interval (Months)
Based on manufacturer guidelines from Badger Meter, Sensus, Kamstrup, and field reports (2024–2026). Intervals may shorten in hard-water or high-sediment conditions.
During each inspection: check for leaks at all joints, verify the meter register advances when water flows (run a faucet for 30 seconds and confirm the reading changes), inspect the upstream strainer/filter if installed, and clean sediment from the meter’s inlet screen. Hard water leaves mineral deposits that restrict flow and shift accuracy on mechanical meters — a ¾-inch turbine meter in a Phoenix, AZ home with 25+ grains/gallon hardness will accumulate visible scale in 6–12 months.
Calibration Drift, Sensor Cleaning, and Replacement Parts
All flow meters drift over time. Mechanical meters slow down as bearings wear, reading lower than actual flow — which means your water bill understates usage (good for you, bad for accuracy). Ultrasonic meters can drift if the transducer coupling gel dries out (clamp-on types) or if scale builds on the sensor face (inline types). GAIMC’s troubleshooting guide identifies calibration drift as the most common flow-meter failure mode, driven by aging components, temperature cycling, and fluid contamination.
Recalibrate when: (1) The bucket test shows deviation exceeding the meter’s stated accuracy, (2) readings become erratic under steady flow, or (3) the meter has been in service for 3+ years without calibration. Flowell estimates basic lab calibration costs $150–$600 per meter; on-site calibration costs $500–$2,000+.
Troubleshooting Common Issues
| Symptom | Likely Cause | Solution |
|---|---|---|
| No reading / display blank | Dead battery; no power; wiring disconnect | Replace battery; check power supply; verify wiring with multimeter |
| Reads zero despite water flowing | Meter installed backwards; air lock; failed sensor | Check flow arrow direction; bleed air from line; contact manufacturer |
| Erratic/jumping readings | Air in line; insufficient straight-run; pipe vibration; electrical interference | Bleed air; verify 5D upstream clearance; add pipe supports; shield wiring |
| Reading consistently high | Air entrainment; meter sized too small for flow rate | Install air vent upstream; verify meter size matches peak demand |
| Reading consistently low | Scale buildup on turbine; worn bearings; clogged strainer | Clean meter internals; replace bearing kit; clean or replace strainer |
| Leak at union connection | Gasket failure; under-torqued; cross-threaded | Replace gasket; re-torque per spec; disassemble and re-thread carefully |

Documentation, Warranty, and Compliance
Recording Installation Details and Meter Specifications
Create a simple installation record. At minimum, document: meter manufacturer, model, serial number, purchase date, installation date, installer name and license number (if applicable), pipe material and size, location description, initial meter reading, and a photo of the installed meter. Keep this document with your home’s maintenance records — it’s the first thing a warranty claim will require, and it’s invaluable for future plumbers or home inspectors.
Understanding Warranty Coverage and Service Support
Most residential water meters carry a 2–5 year manufacturer warranty on defects in materials and workmanship. Warranty typically does not cover: damage from freezing, over-pressurization, installation errors (including over-torquing), or use with fluids outside the specified temperature/pressure range. Read the warranty terms before installation — some manufacturers void the warranty if the meter is installed by an unlicensed person.
Keeping Records for Future Upgrades or Audits
If you’re installing a meter for insurance leak-detection credits, water-utility sub-metering for ADU (accessory dwelling unit) billing, or green-building certification (LEED, WELL), the auditor will want to see: proof of meter accuracy (factory calibration certificate), installation photos showing proper orientation and straight-run compliance, and ongoing maintenance logs. Take 5 minutes to set up a simple spreadsheet or folder for these documents — it will save hours during an audit.
Typical Sources of Residential Water Waste (Detectable by Flow Meter)
")
Sources: EPA WaterSense, AWWA Residential Water Loss studies, and EPA Leak Detection Fact Sheet (2026)
Installing an external water flow meter on your residential plumbing is a straightforward project that delivers immediate, measurable value: leak detection, consumption visibility, and data-driven conservation. The key steps — define your goals, check codes, select the right meter, shut off and depressurize safely, install with proper fittings and torque, test for leaks, wire the data output, and document everything — each exist to prevent a specific failure mode, from flooded basements to voided warranties.
The most important safety reminders: never work on a pressurized line, always use a hold-back wrench when torquing union nuts, verify flow direction before installation, and test every single joint with soap-bubble solution before walking away. A 5-gallon bucket test confirms the meter is reading accurately and takes 2 minutes.
If you’re not confident in your plumbing skills — particularly soldering copper, working with pressurized supply lines, or meeting local code requirements — hire a licensed plumber. The cost of a professional installation ($200–$500 for a residential sub-meter) is a fraction of the cost of repairing water damage from a failed fitting.
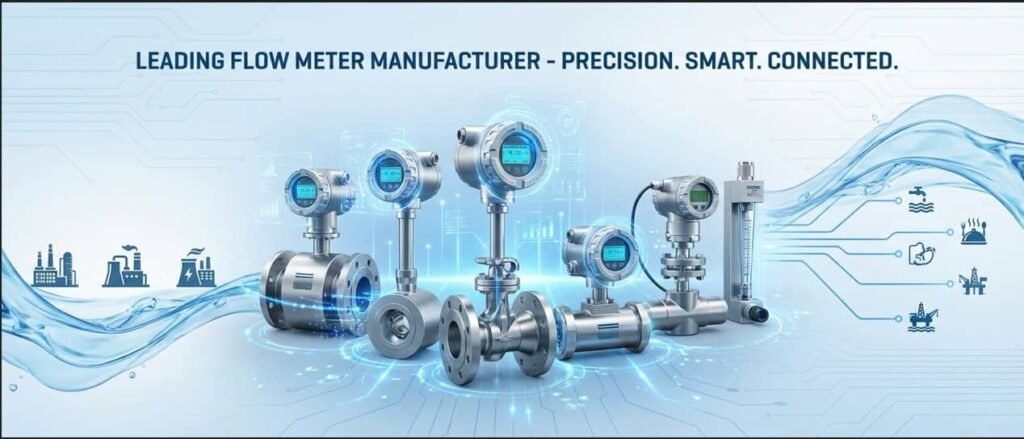
For homeowners and facility managers choosing between meter technologies — mechanical turbine, ultrasonic, or electromagnetic — Jade Ant Instruments’ 7 essential tips for choosing the right water flow meter provides specification-level guidance tailored to residential and light-commercial applications. Their ISO-certified electromagnetic, ultrasonic, and turbine meters ship to over 50 countries, with 4–20 mA, pulse, HART, and Modbus communication options for smart-home and building-management integration.

Frequently Asked Questions (FAQs)
1. What symptoms indicate my meter needs recalibration?
Three primary symptoms: (1) the meter reads zero or fails to register low-flow events (like a single running faucet) that previously showed up; (2) the bucket test shows deviation exceeding the meter’s rated accuracy — for example, a ±2% meter that reads 5.4 gallons when the bucket holds 5.0 gallons; (3) readings become erratic or jumpy under steady, constant flow. Mechanical meters typically under-read as they age (worn bearings slow the rotor); ultrasonic meters can over-read if scale accumulates on the transducer face. The industry-standard recalibration interval is every 3–4 years for residential meters, though annual checks are recommended for custody-billing applications (Endress+Hauser best-practice guidance).
2. Can I install the meter myself, or should I hire a pro?
If you’re installing a clamp-on ultrasonic meter (no pipe cutting), most DIY homeowners can do it in 30–60 minutes. If you’re cutting into the main supply line to install an inline meter, you need basic plumbing skills: pipe cutting, soldering (for copper) or crimping (for PEX), and the ability to safely depressurize and re-pressurize the system. Many jurisdictions require a plumbing permit for any work on the main supply line, and some require a licensed plumber. Check your local building department before starting. The financial threshold is simple: if the installation costs $200–$500 with a pro and a DIY mistake could cause $5,000+ in water damage, the math favors hiring a professional.
3. How often should I test for leaks around the meter?
Inspect the meter connections visually every 6 months for any sign of moisture, corrosion, or mineral staining (white or green residue on brass fittings). Perform a soap-bubble test annually, or immediately after any event that could shift fittings: earthquakes, water-hammer incidents, nearby construction vibration, or freeze-thaw cycles. If you live in a hard-water area (>15 grains/gallon), inspect every 3 months — mineral buildup can weaken gasket seals.
4. What’s the best type of water meter for a typical 3-bedroom house?
For a standard 3-bedroom home with a ¾-inch supply line and 2–15 GPM typical flow range, a multi-jet mechanical meter ($60–$200) provides ±1.5–2% accuracy with proven reliability and no battery or power requirement. If you want smart-home integration and leak alerts, an ultrasonic meter with Wi-Fi output ($150–$500) provides similar accuracy with no moving parts and app-based monitoring. Electromagnetic meters (±0.5–1.0%) are overkill for most residential applications but make sense for larger homes with 1.5-inch or 2-inch supply lines. For technology comparison details, see Jade Ant Instruments’ flow device comparison guide.
5. Do I need a strainer or filter upstream of the meter?
For mechanical meters (turbine, PD, multi-jet): yes. A Y-strainer with a 40–60 mesh screen catches sediment, pipe scale, and debris that would jam or wear the meter’s moving parts. Install it immediately upstream of the meter with a blow-down valve at the bottom of the strainer body for easy cleaning. For ultrasonic and electromagnetic meters: a strainer isn’t required for meter protection (no moving parts), but it helps prevent sediment buildup on sensor surfaces that could affect accuracy over time.
6. Will the meter reduce my water pressure?
Every inline meter creates some pressure drop. For a properly sized ¾-inch residential meter at normal household flow rates (2–10 GPM), the pressure drop is typically 1–5 PSI — barely noticeable in a system operating at 40–80 PSI. However, an undersized meter (e.g., a ½-inch meter on a ¾-inch line) or a meter clogged with sediment can drop pressure by 10–20 PSI, noticeably reducing shower and faucet performance. Size the meter to match your pipe diameter and peak demand. Clamp-on ultrasonic meters create zero pressure drop because they don’t contact the flow.
7. How do I protect the meter from freezing?
In cold climates, water meters installed in unheated spaces (garages, crawl spaces, exterior walls) are at risk of freeze damage. Freezing water expands and cracks meter housings — and this damage is not covered under warranty. Protection options: insulate the meter and surrounding pipes with foam pipe insulation (R-4 minimum), install a heat-trace cable on the pipe section around the meter (thermostatically controlled, $30–$80), or relocate the meter to a heated interior space. If a hard freeze is forecast and the meter is in an exposed location, leave a faucet dripping at 0.1–0.2 GPM to keep water moving through the meter.
8. Can I use a water flow meter to detect a slab leak?
Yes — this is one of the highest-value uses of a residential flow meter. Shut off every faucet, appliance, and irrigation valve in the house. If the meter still registers flow (even 0.1 GPM), water is leaving the system somewhere — and if all visible plumbing is dry, the leak is likely in a pipe under the slab or inside a wall. The EPA estimates that a slab leak as small as 1/16-inch can waste 940 gallons per day. A flow meter gives you the first alert; a plumber with leak-detection equipment locates the exact pipe.
9. What data output should I choose for smart-home integration?
For most homeowners, a Wi-Fi or Bluetooth-enabled meter with a dedicated smartphone app is the simplest option — no wiring, no hub, no configuration. For homeowners building custom smart-home systems (Home Assistant, OpenHAB, etc.), a meter with pulse output works well: each pulse represents a fixed volume (e.g., 1 pulse = 1 gallon), and a microcontroller counts pulses and pushes data to your dashboard. For integration with professional building-management systems, 4–20 mA or Modbus RS485 output is standard. Jade Ant Instruments offers meters with all four output protocols — 4–20 mA, pulse, HART, and Modbus — for maximum integration flexibility.
10. How long will a residential water flow meter last?
Mechanical meters (turbine, PD) typically last 10–15 years before internal wear degrades accuracy beyond spec. Ultrasonic meters last 15–20+ years since they have no moving parts — battery life (3–10 years) is usually the limiting factor. Electromagnetic meters are built for 20+ year service. Hard water, high sediment, freezing, and over-pressurization all shorten lifespan. The best way to maximize meter life: install an upstream strainer, protect against freezing, don’t exceed the rated pressure and flow range, and perform the inspection schedule recommended for your meter type.
Recommended External References
- EPA WaterSense — Water Usage Statistics and Facts
- Wikipedia — Water Metering
- Tameson — Flow Meter Installation Guidelines
- Coastal Pipeline — A Guide to Water Meter Installation Requirements
- BMAG Meter — The Ultimate Guide to Water Meter Connection Fittings
- Jade Ant Instruments — Flow Meter Manufacturer (Electromagnetic, Ultrasonic, Turbine)
- Jade Ant Instruments — Ultrasonic Water Flow Meter Selection Tips
- Jade Ant Instruments — 7 Essential Tips for Choosing the Right Water Flow Meter
- Jade Ant Instruments — How to Choose a Flow Meter: 5 Factors Engineers Use